Whether you are preparing your home for sale, or have just purchased a home that you are ready to make your own, a fresh coat of paint is a quick and relatively inexpensive way to make an impact on your home’s appearance.
Once you have chosen your paint color (remember, neutral tones are best for walls if you are selling) it’s time to get some-ain’t of the walls.
These are a few tips to guide you to making the painting of your home a rewarding experience:
Cutting In:
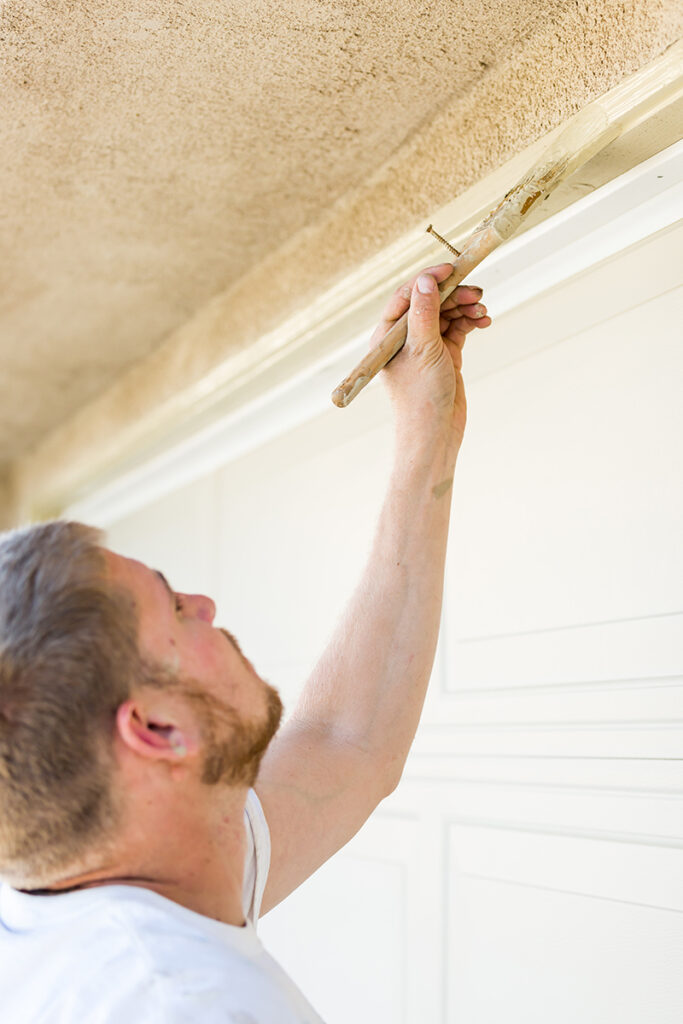
The first step, when painting a wall or ceiling, is to start by ‘cutting in’. This is the process of starting at the edges and corners of the wall you’re going to be working on. Take a quality angled brush, and begin a steady line of paint, right up to the ceiling or molding. This is usually where painters tape and other edging tools can come in handy if you are not an experienced painter.
Make sure to feather out any harsh paint lines that your brush may leave behind as well, so that they won’t dry and leave marks, before you can get to the rolling stage of your painting process. Cutting in may take a bit of patience and time, but careful cutting will result in a great looking finish and overall easier painting process.
Let’s Roll:
Once you’re done cutting in, it’s time to start rolling on your paint.
Roller covers are typically sold in three different naps, or lengths: short, medium, and long. A shorter nap will hold less paint and works well when painting with glossy paints, because it leaves a smooth coat behind. Where a long nap holds lots of paint, and tends to have a less smooth finish.
Some painters give the roller cover a light misting of water with a spray bottle and then scrape down the cover with a 5-in-1 tool to prepare it before painting. This will remove any excess fibers and keep them from getting on your wall.
Pour your paint into a rolling pan (load up your roller with the perfect amount of paint so it’s not too full, and not too dry) and begin painting.
You want to make sure when using a roller that you start about 6-8 inches from the bottom/top of the wall, to avoid accidentally hitting the baseboard/ceiling. Start with a slow zig zag (up and down) motion and distribute the paint from your roller evenly onto one section of your wall, usually about 3-4 square feet at a time. Make sure to work quickly and also try hard not to lift your roller up, unless you’re refiling it with paint. You want to always be overlapping wet paint with wet paint. Doing this will ensure that you don’t end up with visible lap marks in the end. Let the roller do the work. Pressing down firmly on the roller to squeeze out all of the paint will result in an uneven finish.
Try to get your roller as closely into your previously painted cut in areas as possible. This will create a uniformed blending effect, that will help your painted wall appear perfect and seamless. Once you’ve got this technique down, your room will be finished and looking like a professional did it, in no time at all!
Susan Brewer Service First Real Estate (636)936-8600
Published on 2023-08-07 15:22:55


